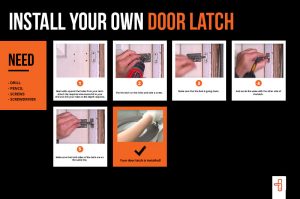
Hi, thanks for joining us in our step by step guide to installing your own mortise lock. First of all, we’d like to thank Woodie’s TV for helping us create a more visual guide by providing the images. All the tools you will need and steps required to fit a new mortise lock is in the image below (click on the image to see the full image), but just in case, we’ve included a more in depth guide below:

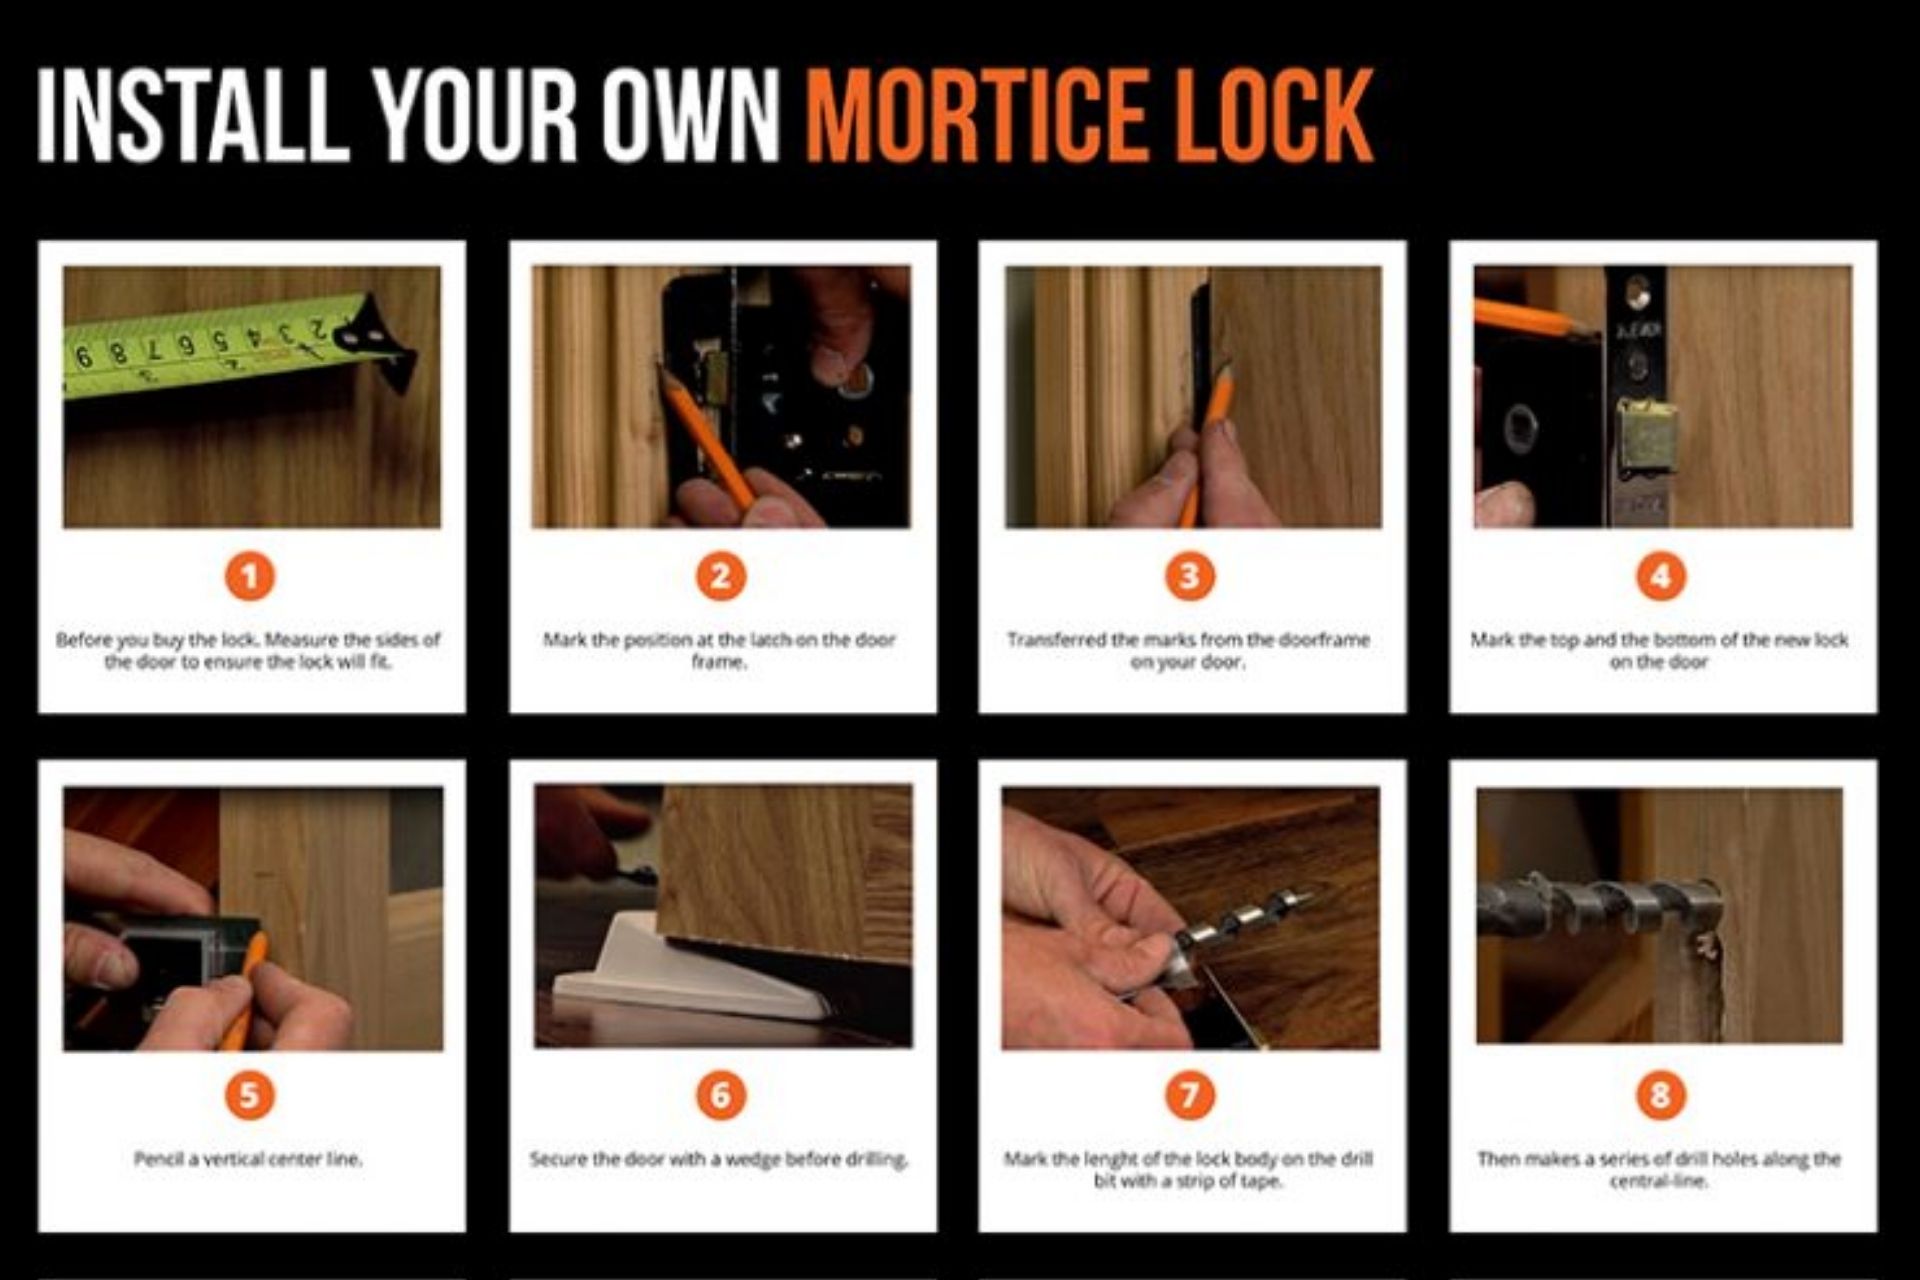
1. Before you buy a mortice lock, measure the sides of the door to ensure the lock will fit.
2. Mark the position at the latch on the door frame.
3. Transfer the marks from the door frame onto your door.
4. Mark the top and the bottom of the new lock on the door.
5. Pencil a vertical centre line.
6. Secure the door with a wedge before drilling.
7. Mark the length of the lock body on the drill bit with a strip of tape.
8. Then makes a series of drill holes along the centre line.
9. Use a chisel to smooth the sides of the mortice slot so that the lock body will slide neatly in to the door.
10. Sit the lock in and mark the edge of the lock plate.
11. You must now make a recess in the edge of the door so that the front of the lock is flush with the door. Using a hammer and chisel, make a series of cuts with the chisel down the length of the door where the plate will sit. Then ease the indentation made by the chisel to give your recess.
12. Hold the lock in position against the face of the door, and with a pencil mark, make a point of the keyhole and the handle spindle (if there’s one). Repeat on the other side of the door.
13. Using a drill, make holes through the door the same diameter as the keyhole at the positions you have marked with the pencil. Drill in from both sides to avoid splitting the wood. Make the keyhole the correct size by stitching two holes together.
14. Insert the lock body into the door. Gently tap with a hammer, if required. Then insert screws to secure the lock, and screw cover plates over the keyholes to finish off the job. Finally, if working on a new frame, chisel out the recess for the strike plate on the frame of the door. If replacing a mortice lock, fit the new strike plate in the same in the position as the old one.
15. Your mortice lock is now installed!
If you require a mortice lock to try out this guide, we have one available here: Bathroom Mortice Locks. This one is specifically used in the bathroom, but can used wherever you require it in your home.
For more DIY Guides, and infrequently pleasant updates, please like and follow us on Facebook & Twitter. We are also on Pinterest, with hundreds of DIY pins and projects for you to gain inspiration from.