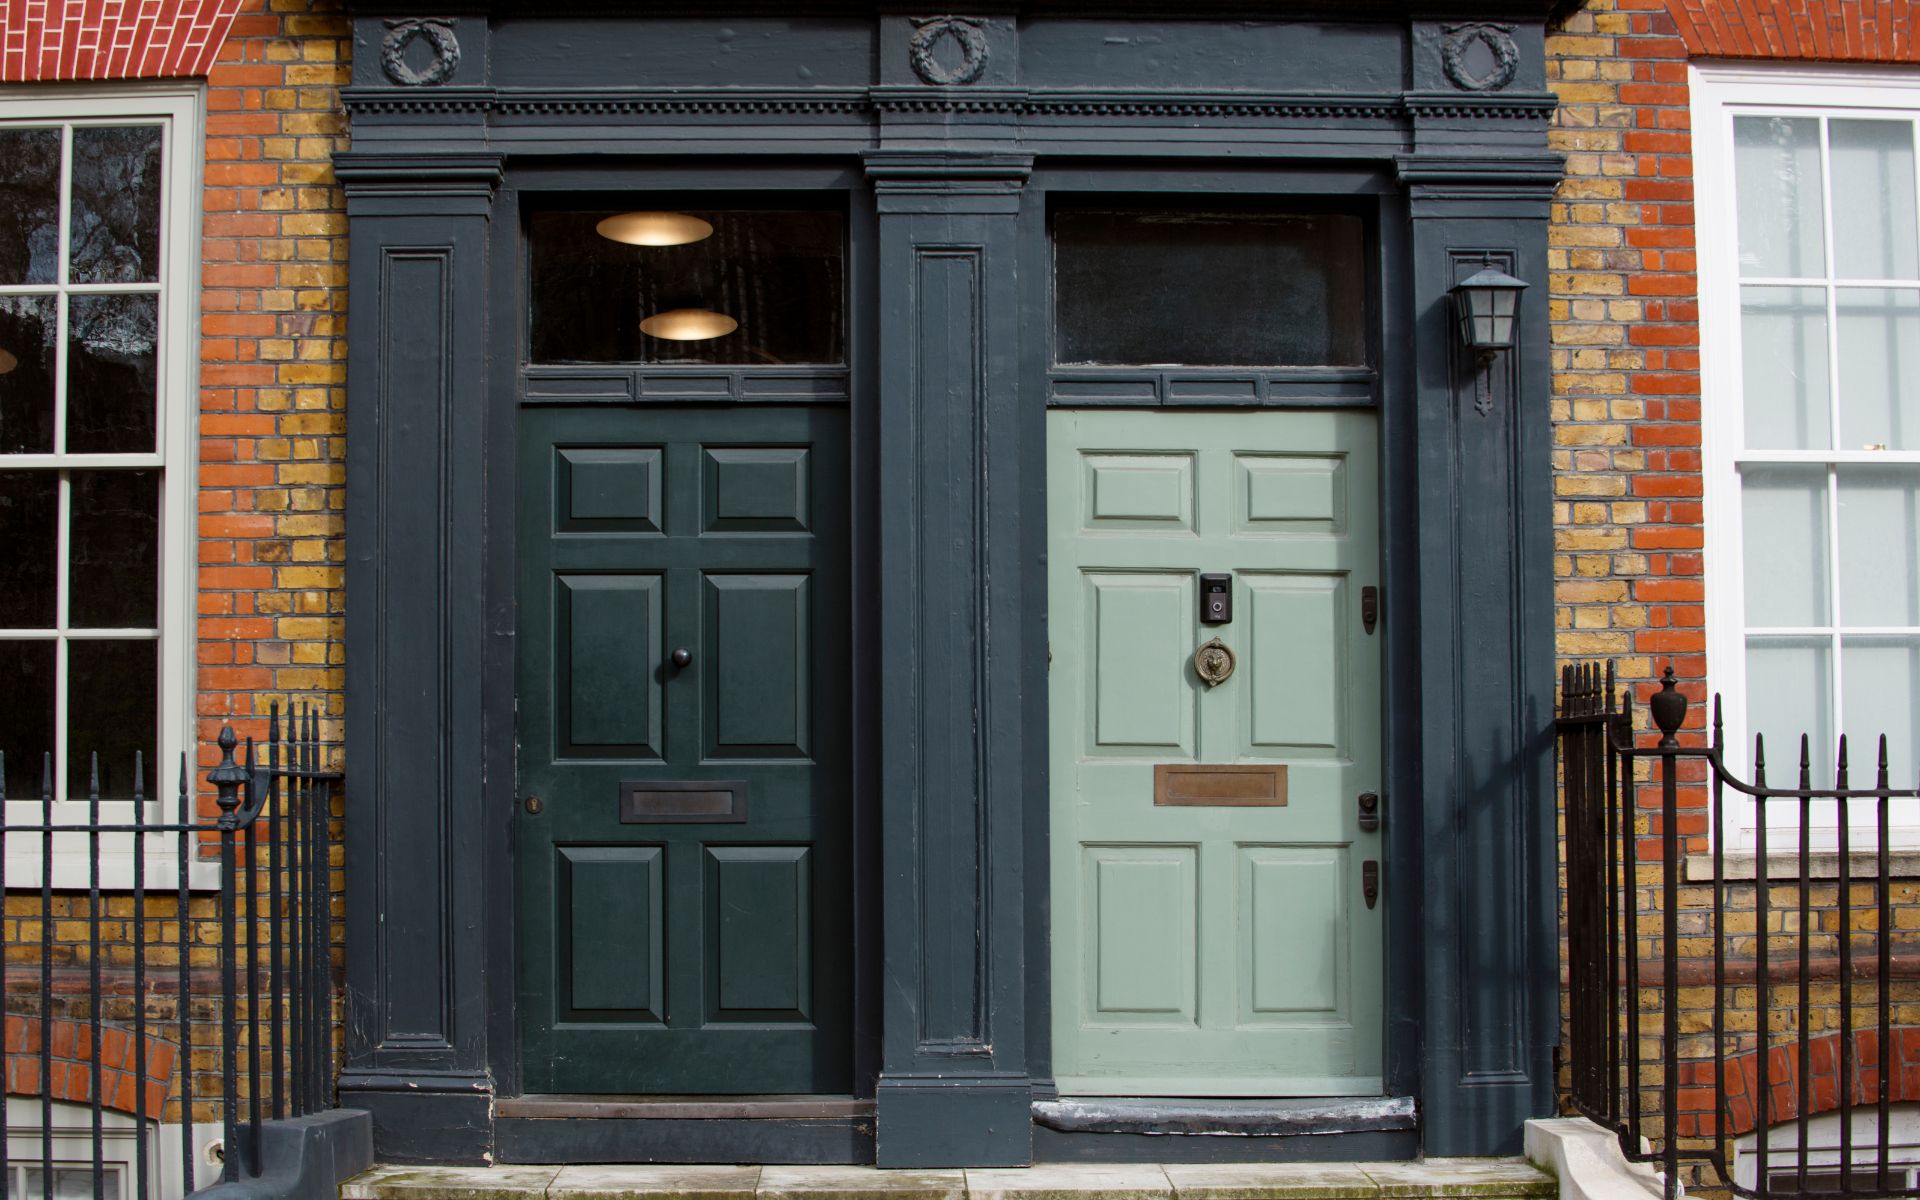
Personalizing your home is a wonderful way to add character and make it truly feel like your own. One area that often gets overlooked when it comes to customization is the letter plate. With a little creativity and some simple DIY projects, you can transform this small but important feature into a personalized statement piece. In this blog, we will explore DIY door letter plate projects. These are brass letter plates, Victorian letter plates, and chrome letter plates that will add a personalized touch to your home.

Explore more Letter Plate & Tidies
Best DIY Letter Plate Projects for Your Home
1. Hand-Painted Designs
One of the simplest and most effective ways to personalize your letter plate is through hand-painted designs. Start by selecting a basic letter plate in a material that can be easily painted, such as wood or metal. Use acrylic or enamel paints to create your design.
You can opt for intricate patterns, vibrant colors, or even a monogram that represents your family name. Let your creativity shine and make the letter plate a standout feature of your home’s exterior.
2. Decoupage
Decoupage is a technique that involves adhering paper cutouts or images onto a surface and sealing them with varnish or Mod Podge. To personalize your letter plate using decoupage, choose decorative paper or napkins with patterns that resonate with your style.
Cut out the desired shapes or images and apply them to the letter plate using decoupage glue. Once dry, seal the design with a layer of varnish. This technique allows for endless possibilities, from floral motifs to vintage postcard replicas, enabling you to create a truly unique letter plate.
3. Mosaic Tiles
Create a stunning and eye-catching letter plate using mosaic tiles. Start with a plain letter plate and select mosaic tiles in colors and patterns that complement your home’s exterior.
Apply a layer of adhesive to the letter plate and carefully place the mosaic tiles onto the surface, arranging them in your desired design. Once the adhesive has dried, fill in the gaps between the tiles with grout. The result is a beautiful, personalized letter plate that adds a touch of artistic elegance to your home.
4. Laser-Cut Designs
If you have access to a laser cutter or know someone who does, consider creating a personalized letter plate with laser-cut designs. Start by designing a unique pattern or monogram using graphic design software. Once you have your design ready, use a laser cutter to cut it into a material like acrylic or wood.
Attach the laser-cut piece to the front of a plain letter plate, ensuring it is securely fastened. The intricate details and precision of laser-cut designs will give your letter plate a professional and personalized look.
5. Vintage Upcycling
For those who appreciate a touch of nostalgia and vintage charm, consider upcycling a vintage letter plate for a unique personalized touch. Visit thrift stores, antique shops, or online marketplaces to find an old letter plate with character.
Clean it thoroughly, sand away any imperfections, and then apply a fresh coat of paint in a color that complements your home’s exterior. You can also add additional embellishments such as decorative knobs, keyholes, or vintage-inspired decals to enhance its uniqueness and personalized appeal.
Tips for DIY Letter Plate Projects
1. Prep and Clean
Before starting any DIY project on your letter plate, make sure to clean and prep the surface. Remove any dirt, dust, or old paint using a gentle cleaner or sandpaper, depending on the material. This will ensure proper adhesion and a smooth finish for your project.
2. Seal and Protect
Once your DIY letter plate project is complete, it’s important to seal and protect the surface to ensure its longevity. Consider using a clear coat sealant or varnish suitable for the material of your letter plate. This will protect the design from weathering, UV rays, and other external elements.
3. Consider Durability
Keep in mind that your letter plate is exposed to the elements, so choose materials and techniques that will withstand outdoor conditions. Opt for durable paints, weather-resistant adhesives, and sturdy materials to ensure your personalized letter plate remains intact and visually appealing.
4. Coordinate with the Exterior
When selecting colors, patterns, or designs for your DIY letter plate, consider the overall exterior of your home. Choose elements that complement the style, color scheme, and architectural features to create a cohesive and harmonious look.
5. Safety First
If you’re using power tools, adhesives, or other potentially hazardous materials, make sure to follow safety precautions. Wear protective gear such as gloves, safety glasses, and masks as necessary. Keep tools and materials out of reach of children and pets.
Read Also: DIY Home Improvement Projects with Ironmongery World
6. Photo Collage
Create a sentimental and personalized letter plate by incorporating a photo collage. Choose a selection of your favorite photographs that hold special meaning to you and your family. Resize and print the photos to fit the surface of the letter plate.
Use adhesive or decoupage glue to carefully adhere the photos onto the plate, arranging them in a collage pattern. Once the glue is dry, seal the surface with a clear varnish to protect the photos and ensure durability. Every time you or your guests approach your front door, the photo collage letter plate will bring a smile to your face.
6. Stenciled Designs
Stenciling is a versatile and easy technique that allows you to create intricate designs on your letter plate. Start by selecting a stencil pattern that suits your style or create your own using stencil sheets. Place the stencil on the letter plate and secure it with tape.
Use a stencil brush or sponge to apply paint over the stencil, making sure to fill in the design evenly. Carefully remove the stencil and allow the paint to dry. Stenciling offers endless possibilities, from geometric patterns to nature-inspired motifs, enabling you to customize your letter plate to your liking.
7. Embossed Metal
Add a touch of elegance and sophistication to your letter plate by incorporating embossed metal elements. Start with a plain letter plate made of metal or a sturdy material that can support the embossed design. Create a design template on a piece of paper and trace it onto a sheet of metal, such as brass or copper.
8. Chalkboard Surface
Transform your letter plate into an interactive and customizable feature by applying a chalkboard surface. Start by selecting a letter plate material: brass letter plate, Victorian letter plate, and chrome letter plate with a smooth and flat surface. Apply a coat of chalkboard paint, following the instructions on the paint can.
Final Thoughts
Personalizing your letter plate is a fantastic way to add a unique and personalized touch to your home’s exterior. Whether you choose hand-painted designs, decoupage, mosaic tiles, laser-cut patterns, or vintage upcycling, these door letter plate projects allow you to showcase your creativity while making a statement at your doorstep.
Thanks for Reading!
Forward this article to your friends who want tips to know letter plate projects for a personalized touch in your home.