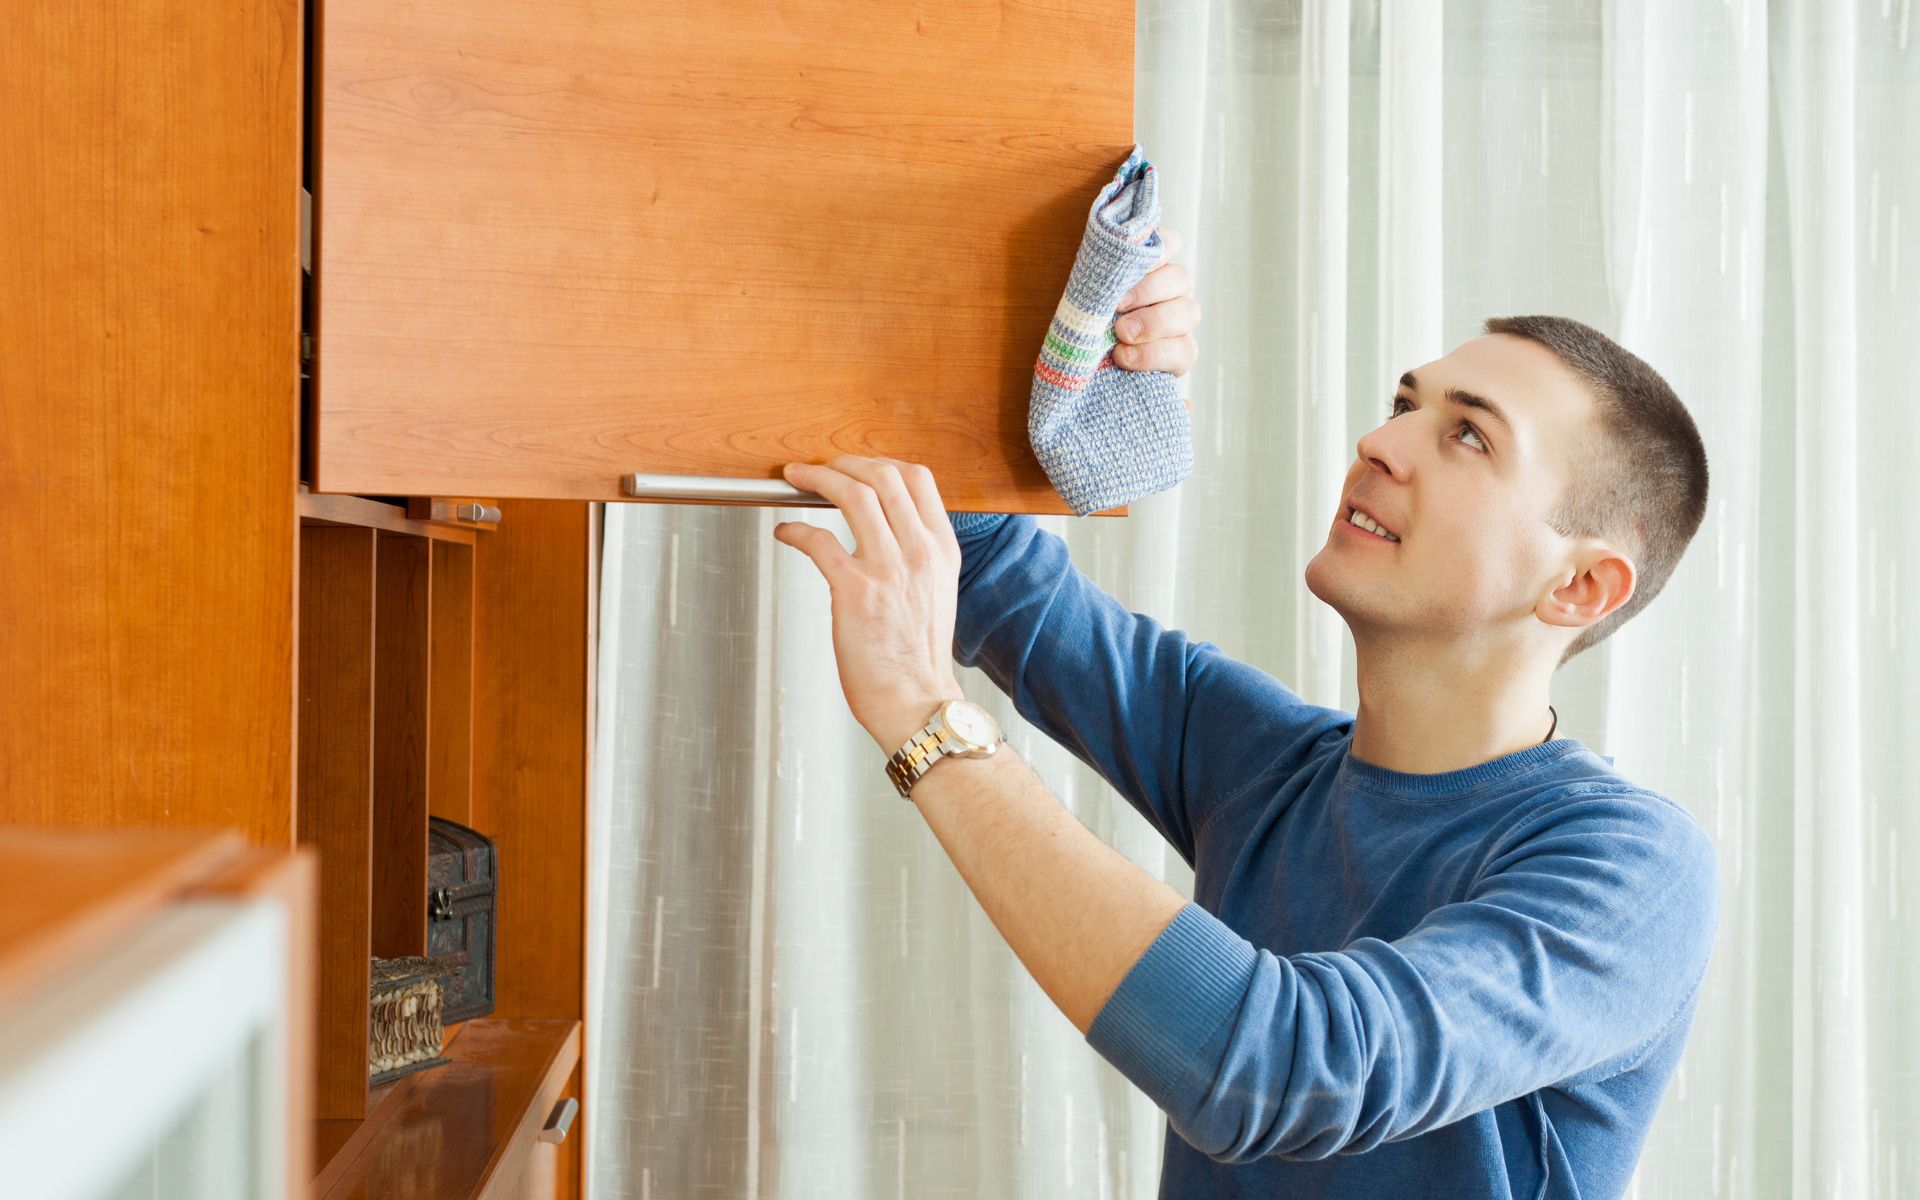
After the passage of some time cupboard hinges cause some functional problems. So, a drooping or loose cabinet door is one of the most annoying things. It is important to know how to fix cupboard hinges for more benefits for a longer time. You may be surprised to know that repairing your cabinet hinges doesn’t require a lot of carpentry or mechanical expertise. In this blog, we are going to provide you with a complete guide on how to fix cupboard door hinges. This will help you get your cabinets back in working condition as soon as possible. Not only working conditions but also addressing any of your concerns about typical hinge problems.
Check here: Cabinet hinges
Simple Steps to Fix a Sagging or Loose Cabinet Door
1. Fix the Screws Firmly
Make sure each hinge should be tightened using a screwdriver. Moreover, open and shut the cabinet door as you typically would when making changes. When the door opens and closes firmly, continue tightening and adjusting the screws.
2. If the Door is Excessively Heavy, Add more Hinges
For this, you need to pick up the second set of hinges at the home improvement store in your neighbourhood. After that, take the cabinet door out of the unit and place it flat. To give the cabinet door plenty of support, screw the new pairs of hinges along the side.
Then, reattach the door to the cabinet and tighten all the screws after installing each hinge. Keep in mind before you leave for the store, take a picture of your current hinges. Doing this you will realise that finding a matching hinge will be simpler if done in this manner.
Generally, new hinges typically come with a template that illustrates the placement of each hinge. You can use the template as a guide to mark the cabinet. Especially, where the new hinges should go before reinstalling the door.
3. Any Stripped Screw Holes should be Filled up with Toothpicks
In this suggestion, keep the cabinet hinges attached to the cabinet door while removing them from the actual cabinet. Then, grab a box of toothpicks and set the cabinet door aside. After setting the cabinet door, put some wood glue on the ends of multiple toothpicks.
Keep inserting them into the stripped screw hole. This is to make the screw hole level and flush with the rest of the cabinet door. Then, break off the ends of the toothpicks after the opening has been filled. It is important to reinstall the cabinet hinges into the repaired screw holes.
This is when the glue has had time to fully dry. In this case, toothpicks function as a fresh coating of wood. These screw threads in the glued toothpicks will get deeply embedded and restore the cabinet hinges.
4. Tighten the Screws
Each hinge should be tightened using a screwdriver. You need to open and shut the cabinet door as you typically would when making changes. Make sure to open and close the door firmly, continue tightening and adjusting the screws. Furthermore, your cabinet door hinges probably need to be replaced in case you find metal shavings.
It is ideal If the door is excessively heavy, add more hinges. Pick up a second set of hinges at the hardware or home improvement store in your neighbourhood. After that, take the cabinet door out of the unit and place it flat.
This will give the cabinet door plenty of support, and screw the new pairs of hinges along the side. Moreover, reattach the door to the cabinet and tighten all the screws after installing each hinge. You can also take a picture of your current hinges before you leave for the store.
New hinges come with a template that illustrates the placement of each hinge. You need to use the template as a guide to mark the cabinet. This is where the new hinges should go before reinstalling the door.
5. Insert Toothpicks into any Stripped Screw Holes
It is important to keep the cabinet hinges attached to the cabinet door while removing them from the actual cabinet. Then, grab a box of toothpicks and set the cabinet door aside. You need to put some wood glue on the ends of multiple toothpicks.
After this, you can insert them into the stripped screw hole. To make the screw hole level and flush with the rest of the cabinet door. Then, break off the ends of the toothpicks after the opening has been filled.
Now it’s time to reinstall the cabinet hinges into the repaired screw holes. Toothpicks work as a fresh coating of wood. The screw threads in the glued toothpicks will get deeply embedded to restore the cabinet hinges.
How can a Hinge that separates from a Cabinet Door be Repaired?
1 Take off the Cabinet Door, then Repair the Surface
The door and hinges should be disconnected using a screwdriver. Apply the filler and evenly distribute it over the damaged area. You should wait until the wood filler has finished curing.
2. Over the Cabinet’s repaired Area, Sand and Paint
Before going ahead make the surface smooth and flush with the rest of the cabinet. Then, gently buff the dried filler. This filler should then be painted over to blend it in. Before moving on, let the paint cure completely.
You can choose the ideal paint colour for your cabinet to match the home decor. On the other hand, you might take a photo of your cabinet. Then bring it to your neighbourhood hardware or home improvement store for reference.
3. Replace the Cabinet Door Hinges and Reinstall them
Now replace all of your hinges rather than use the old ones. This is If one of them ripped off the cabinet. Install the new set of hinges after unscrewing the old ones. Reinstall the cabinet door after that. To effortlessly align the doors and hinges while replacing them, try utilising a cabinet jig.
Read more: How to Adjust Kitchen Cabinet Hinges?
Final Thoughts
Hopefully, you understand all the easy steps on how to fix cupboard hinges. Generally, your hinge is a touch too loose if your cabinet door isn’t shutting all the way. While screwing there should be two screws next to one another in a horizontal line. This is on the part of the hinge that is attached to your cabinet. For this, simply implement all the repair steps of how to fix the cupboard door hinge, use a screwdriver, and move the leftmost screw clockwise to repair the hinge.
Thanks for Reading!
Forward this article to your friends who want to know about the simple steps to fix a sagging or loose cabinet door.