Air vent covers are essential components of your HVAC system. They help regulate the flow of air into your home while keeping out unwanted dust, debris, and insects. However, over time, these covers can become damaged or worn out, leading to air leaks and inefficient airflow. Replacing old or damaged air vent covers is a simple DIY project that can help improve the performance of your HVAC system. By following these air vent cover installation steps, you can easily replace old or damaged covers. This will ensure the proper airflow throughout your home.
Remember to measure the opening, trace the outline, cut the wall, install the new cover, caulk the edges, consider upgrading to magnetic covers, and repeat the process for other air vents. With these tips, you’ll be able to enjoy a comfortable and energy-efficient home all year round. In this blog, we’ll guide you through the steps on how to install air vent covers in the wall.
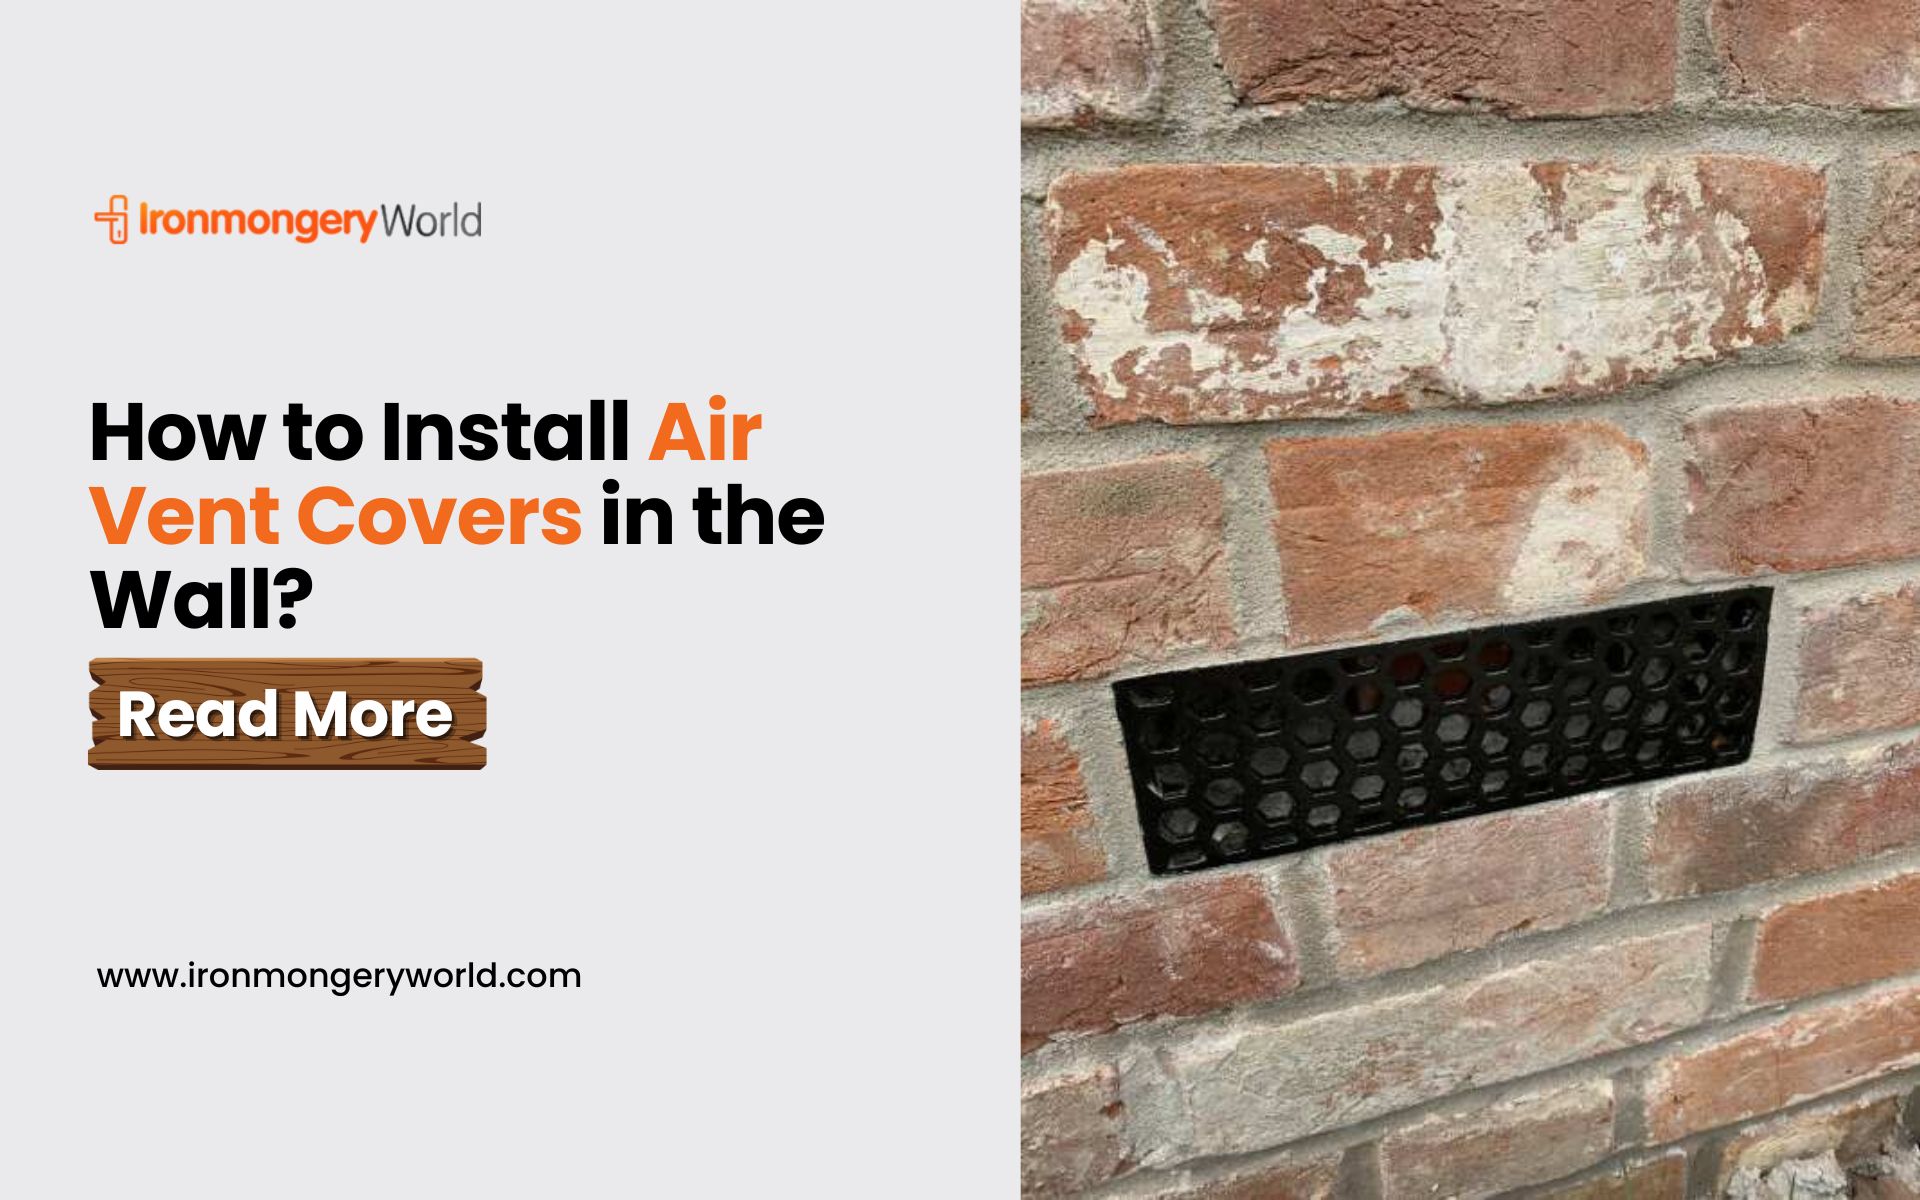
Easy Installation Process of Air Vent Covers in the Wall
Step 1: Measure the Air Vent Opening
Start by measuring the dimensions of the air vent opening in your wall. Measure the length and width of the opening to determine the size of the replacement cover you need.
Step 2: Remove the Old Air Vent Cover
Using a screwdriver, remove the screws holding the old air vent cover in place. Carefully remove the cover and set it aside.
Step 3: Trace the Outline of the New Air Vent Cover
Using a pencil and a level, trace the outline of the new air vent cover on the wall. Make sure the outline is level and centered over the air vent opening.
Step 4: Cut the Wall to Fit the New Air Vent Cover
Using a drywall saw, carefully cut along the outline you traced on the wall. Be sure to cut along the inside of the line to ensure a snug fit for the new air vent cover.
Step 5: Install the New Air Vent Cover
Insert the new air vent cover into the opening in the wall. Secure the cover in place using screws and a screwdriver. Make sure the screws are flush with the cover to ensure a snug fit.
Order Now: Air Brick Covers
Step 6: Test the Air Flow
Once the new air vent cover is installed, turn on your HVAC system and test the airflow. Check for any air leaks around the edges of the cover, and adjust the screws as needed to ensure a tight fit.
Installing air vents in walls is a simple DIY project that can help improve the efficiency of your HVAC system. By following these steps, you can replace old or damaged air vent covers and ensure proper airflow throughout your home. Remember to measure the opening, trace the outline of the new cover, cut the wall to fit, and secure the new cover in place. With these tips, you’ll be well on your way to a more comfortable and efficient home.
Step 7: Caulk the Edges
To ensure a tight seal and prevent air leaks, use caulk to seal the edges of the new air vent cover. Apply a thin layer of caulk around the perimeter of the cover, using a caulk gun and a steady hand. Smooth out the caulk with a caulk smoother or a damp finger to create a neat and even seal.
Step 8: Finish and Clean Up
Once the caulk has dried, use a damp cloth to clean up any excess caulk or debris around the air vent cover. If necessary, touch up the paint or wall texture around the edges of the cover to match the surrounding wall.
With these simple steps, you can install new air vent covers on your wall and improve the efficiency and performance of your HVAC system. Regular maintenance and replacement of air vent covers can help keep your home comfortable and reduce energy costs. Remember to always follow safety guidelines and manufacturer instructions when working with HVAC components or tools. If you’re not comfortable with DIY projects or need assistance, consider hiring a professional HVAC technician or handyman
Step 9: Consider Upgrading to Magnetic Vent Covers
If you’re looking for a more convenient and versatile option, consider upgrading to magnetic vent covers. These covers can be easily attached to metal air vents without the need for screws or tools. They come in a variety of sizes and styles and can be easily removed and cleaned.
To install magnetic vent covers, simply place the cover over the air vent and adjust it to fit snugly. Make sure the magnet is strong enough to hold the cover in place and prevent it from falling off. Magnetic vent covers are a great option for renters or homeowners who want a quick and easy solution to improve airflow and energy efficiency.
Step 10: Repeat the Process for Other Air Vents
Once you’ve successfully installed the new air vent cover in one location, repeat the process for other air vents throughout your home. This will ensure that all of your air vents are working properly and efficiently, providing consistent airflow and temperature throughout your home.
It’s important to note that different rooms in your home may require different airflow settings depending on factors such as the size of the room, the number of occupants, and the amount of natural light. You may need to adjust the airflow settings on individual air vents to achieve the ideal temperature and comfort level in each room.
Read Also: How to Choose the Right Air Vent Cover for Your Project?
Tools and Materials Needed
- Air vent cover
- Screwdriver
- Drywall saw
- Tape measure
- Pencil
- Level
Final Thoughts
In conclusion, air brick installation in the wall is a simple and effective way to improve the performance of your HVAC system. Whether you choose traditional screw-in covers or magnetic vent covers, regular maintenance and replacement can help keep your home comfortable and energy-efficient. Remember to measure the opening, trace the outline, cut the wall, air vent cover installation, caulk the edges, and consider upgrading to magnetic covers. With these tips, you’ll be able to enjoy a more comfortable and efficient home in no time.
Thanks for Reading!
Forward this article to your friends who want to know the easy installation process of air vent covers in the wall.