Restoring an old gate can be a rewarding and fulfilling project that brings new life to your property. Whether you have vintage gate hinges or a wooden gate showing signs of wear, a restoration project can revitalize its beauty and functionality. However, gate hardware requires careful planning, attention to detail, and proper execution. In this blog post, we’ll share essential tips to help you achieve a successful gate restoration project.
Know Suggestions for a Successful Restoration Project
1. Assess the Condition
Before starting your restoration project, carefully assess the condition of the gate. Look for signs of rust, rot, damage, or weak structural elements. Determine if the gate needs repairs, replacement parts, or a complete overhaul. A thorough evaluation will help you plan the necessary steps and materials required for the restoration process.
2. Plan and Research
Create a detailed plan for your restoration project. Research the gate’s original design, materials, and construction techniques. This knowledge will guide you in making informed decisions and ensuring authenticity during the restoration process. Consult books, online resources, or even local historical societies to gather information about the gate’s style and period.
3. Safety First
Prioritize safety throughout your gate restoration project. Wear appropriate personal protective equipment (PPE) such as gloves, safety glasses, and a mask when working with chemicals, paints, or power tools. Take necessary precautions when working at heights or handling heavy objects. Ensure a safe working environment by securing the gate and keeping the area clear of obstacles.
4. Cleaning and Stripping
Begin the restoration process by thoroughly cleaning the gate. Use a mild detergent or specialized cleaners suitable for the gate’s material. For metal gates, remove rust and old paint using wire brushes, sandpaper, or chemical rust removers. Wooden gates may require gentle sanding or stripping to remove old finishes and reveal the natural grain.
5. Repairs and Replacements
Address any structural issues or damaged components during the restoration process. Repair loose joints, replace broken pieces, and reinforce weak sections. If necessary, consult a professional welder or carpenter for complex repairs. Ensure the gate is sturdy, functional, and able to withstand weather conditions once the restoration is complete.
6. Surface Preparation
Properly prepare the gate’s surface before applying any finishes. Smooth metal surfaces using sandpaper or a wire brush, ensuring all rust and rough areas are removed. For wooden gates, use wood fillers to repair cracks or holes. Apply a suitable primer to create a smooth, even surface for paint or stain adhesion.
7. Finishing and Coating
Choose a finish that suits the gate’s material and style. For metal gates, consider rust-resistant paint or a protective coating. Wooden gates can be stained or painted to enhance their appearance and provide weather resistance. Follow manufacturer instructions for proper application and drying times. Apply multiple coats if necessary for optimal results.
8. Regular Maintenance
Once your gate restoration project is complete, establish a regular maintenance routine to ensure its longevity. Inspect the gate periodically for any signs of wear, rust, or damage. Touch up paint or coatings as needed and lubricate hinges or moving parts to maintain smooth operation. Regular maintenance will help preserve the beauty and functionality of your restored gate.
9. Preservation of Historical Elements
If you’re restoring a gate with historical significance or unique architectural features, take extra care to preserve those elements. Avoid altering or removing original details that contribute to the gate’s character and historical value. If necessary, consult with preservation experts or local historical societies to ensure your restoration efforts align with best practices for historic preservation.
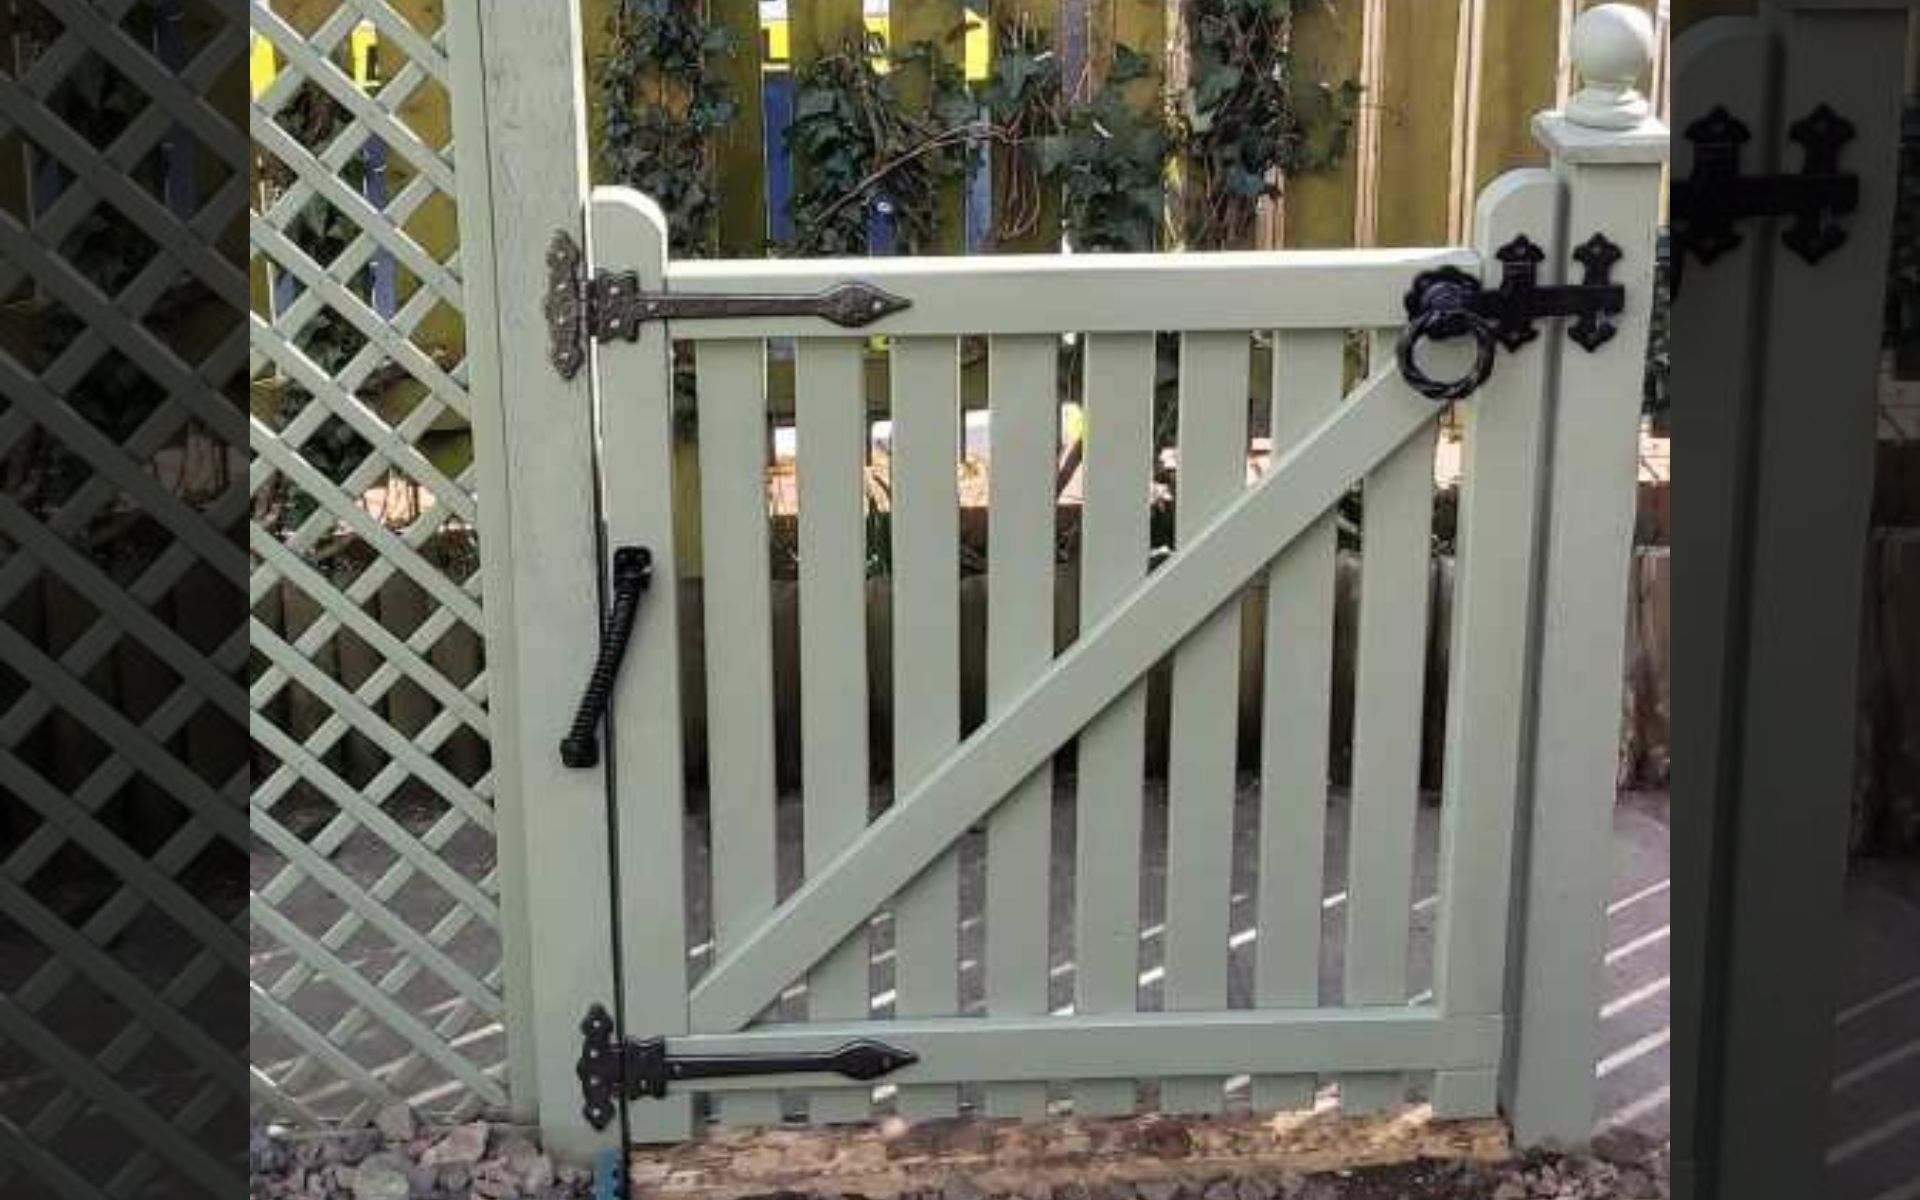
10. Matching Hardware and Accessories
Consider replacing worn or damaged hardware and accessories to complete the gate hardware. Choose hinges, latches, handles, and other decorative elements that complement the gate’s style and period. Pay attention to materials, finishes, and proportions to ensure a cohesive and aesthetically pleasing look. Well-chosen hardware can enhance both the functionality and visual appeal of the restored gate.
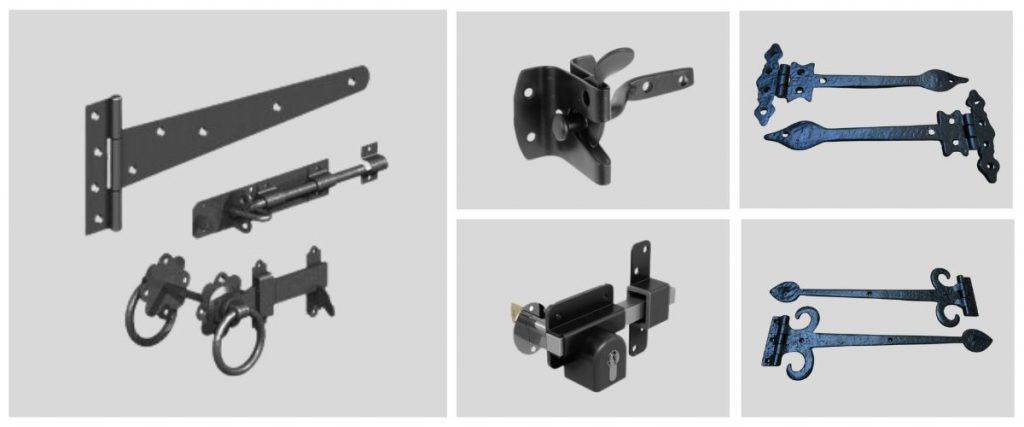
Check the collection of:
11. Seek Professional Assistance
For complex gate restoration projects or if you lack the necessary skills, don’t hesitate to seek professional assistance. Experienced welders, carpenters, or restoration specialists can provide expertise and guidance to ensure the highest quality restoration. They can also handle intricate repairs, intricate detailing, or specialized finishes that require professional knowledge and equipment.
12. Time and Patience
Gate restoration projects require time and patience. Avoid rushing through the process, as this can lead to subpar results. Take your time to complete each step carefully and allow sufficient drying or curing time for paints, coatings, or adhesives. Remember that a well-executed restoration takes time but yields remarkable results that will be enjoyed for years to come.
Read Also: Door Measurements Guide for Replacement?
13. Document the Restoration Journey
Consider documenting the gate restoration journey through photographs or a journal. This not only allows you to track progress but also provides a record of the work done and the techniques used. It can be a valuable reference for future maintenance or for sharing the story of the gate’s restoration with others.
14. Weatherproofing
Ensure that your restored gate is protected from the elements by applying appropriate weatherproofing measures. Use sealants or protective coatings designed for the gate’s material to prevent moisture penetration, rot, or rust. Regularly reapply these waterproofing treatments as needed to maintain the gate’s durability and longevity.
15. Gate Alignment and Functionality
As you complete the restoration, pay close attention to the gate’s alignment and functionality. Check that it swings smoothly and securely on its hinges, and ensure that latches or locks engage properly. Make any necessary adjustments to ensure proper operation, ensuring that the gate opens and closes seamlessly.
16. Landscaping Considerations
Take into account the surrounding landscape when restoring a gate. Consider factors such as clearance, slope, and the gate’s position in relation to trees or other structures. Make sure the gate has enough clearance for easy opening and closing, and trim any overhanging branches or vegetation that may obstruct its movement or cause damage.
Conclusion
A gate restoration project can bring back the charm and elegance of a timeless piece while adding value to your property. By following these essential tips, you’ll be well-prepared to undertake a successful gate hardware restoration project. Remember to assess the gate hinge’s condition, plan meticulously, prioritize safety, clean and repair as needed, and choose appropriate finishes. With careful attention to detail and proper execution, your restored gate will be a standout feature that enhances your property for years to come. Enjoy the process and happy gate restoration!
Thanks for Reading!
Forward this article to your friends who want tips to know suggestions for a successful restoration project.