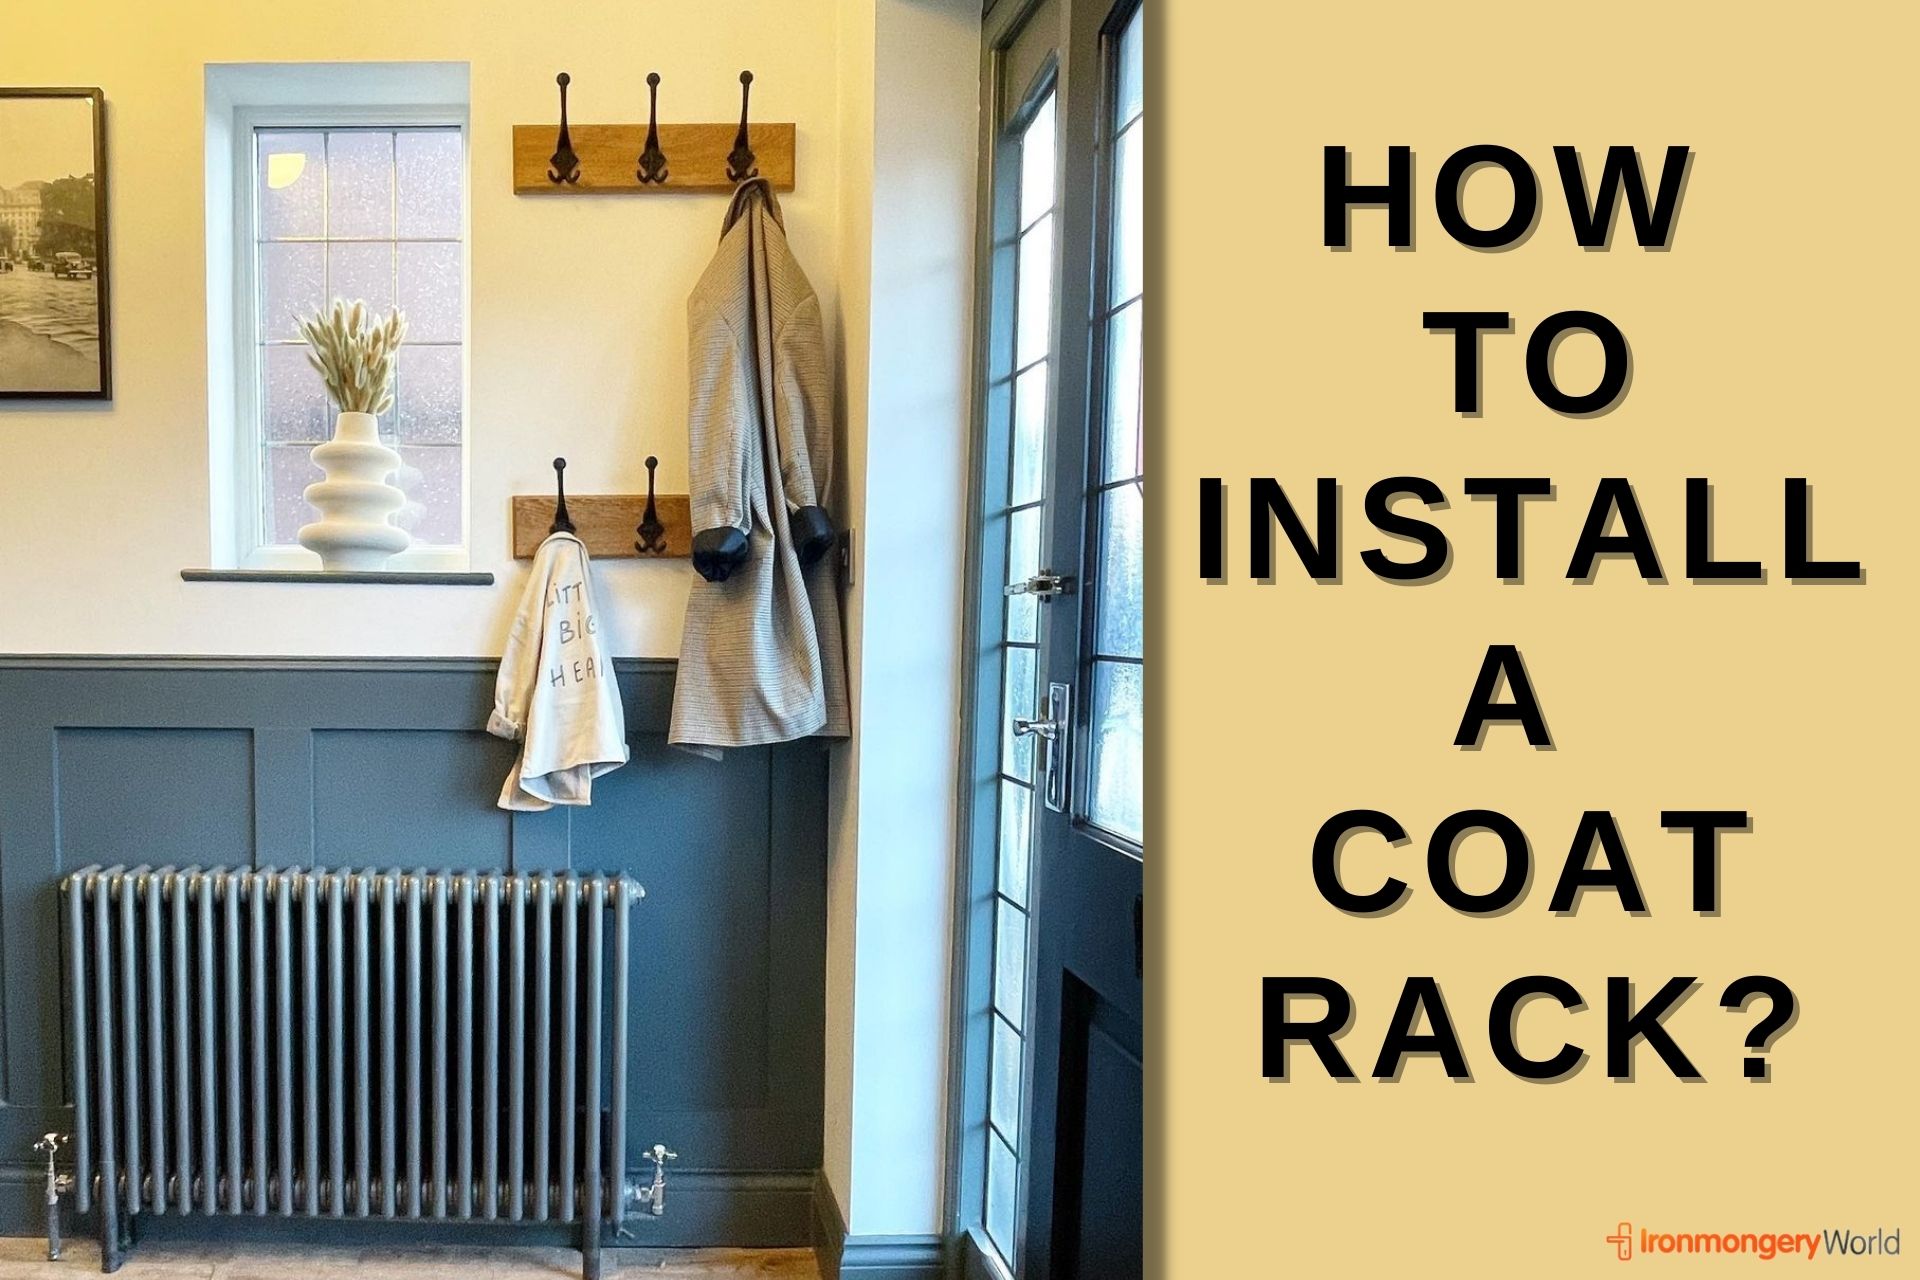
First off, we’d like to thank Mark Benavidez for helping us present our guide in a more visual way, as we all know a picture shows 1000 words, what better way of showing you how to hang a coat rack.
We’ve expected you might have a whole bunch of questions of how to hang those darn things, when it’s your first time, it can feel a bit of an arduous task. What tools do I use? Is it level? Will it stay on the wall? Just some of the many questions that you might be asking yourself. Below we have comprised a step-by-step guide that will help solve these and many other installation problems that you might come across, so let’s get to the DIY bit of the section…
Tool Check
The following are tools needed for your installation:
– Digital Wall Scanner (optional)
– Pencil (optional)
– Drill
– Phillips ‘+’ Screwdriver
– Spirit Level
STEP 1 – SCAN YOUR WALLS
There are some precautions that you might want to take (not essential) before you choose to place your coat rack. Depending on where your wall is situated, some wires might be hiding behind the exterior wall, so make sure that you are not drilling through existing plugs or electrical wiring behind the coat rack wall. The most accurate way of going about doing this is to use a digital wall scanner. In most cases you will not hit a wire (but don’t say we didn’t warn you first). It is solely up to you if you want to go through this step, but it doesn’t hurt to check. A Digital Detector such as the one in the image above are available on Amazon and will help you find studs, pipes and live wires to prevent you from drilling through them.

STEP 2 – MOUNTING THE COAT HOOK LEVEL
Once you are certain that they are no electrical wiring behind the wall, place the coat rack in the desired location and use the spirit level to make sure it is horizontally level. Mark the hole locations with the pencil or if you don’t have a pencil, you can make a starter hole (a small hole made with a screw) in the wall that will let you know where to screw in the anchors.

STEP 3 – DRILL HOLES
Where you have marked the location of the hole with a pencil or starter holes, drill 3/4 of the length of the screw to make the pilot holes, these will allow easy passage for the screw. If you installing on a wall that requires anchors, you need to use a drill. Select a drill bit similar to the size to the screw to make the pilot holes for the wall anchors/plugs, make sure you don’t over drill the holes or else the holes will be too big to secure the plugs anchors. If you are drilling through a drywall, make sure the plugs/anchors are flush against the wall.

STEP 4 – FASTEN THE COAT RACK USING THE SCREWS PROVIDED
Drill the screws halfway into the coat rack (not the wall yet), this is done so that you have guides on where the anchors are placed. If you went ahead and purchased one of our coat racks, you might have realised that the screws provided match the finish of your coat rack! Use the screws provided to screw in your coat rack using a Philip’s screwdriver or screw drill bit. If you have a coat rack with 8 or more hooks, we recommend you first identify the type of wall you are mounting and find someone to help you mount into place.

More Information:
They can be different variations of walls and the procedure of how to install these coat racks will depend on the type of wall such as drywalls will start powdering up if you directly screw into them, and will not secure the screw in place, that’s why you need plugs then you can screw them into place. If you don’t have a drill and have drywalls (the worst combination if you are installing coat racks), then we have a solution for you…you will need to get yourself some metal ‘self-drilling’ wall anchors, these are very good and all you will need is a screwdriver to secure them in place.
Ironmongery World have always loved Vintage Coat Racks, for us it brings together shabby chic, cool and convenient, but most importantly we want to make the process from buying to installing as convenient and efficient as possible. We are aware that this is a simple guide, it was our intention to make it accessible to anybody with or without DIY experience. We are working on bringing you more in-depth guides as we speak.
For more infrequently pleasant DIY guides, like and follow us on Facebook & Twitter. Looking to get yourself a Vintage Coat Rack? We have quite a collection waiting for you at www.ironmongeryworld.com/hooks


